Most lifters put on a lever belt and wonder why it does nothing. The belt is not the problem. The positioning is wrong, the tightness is off, and the bracing is backwards. This guide fixes all three.
Step by StepBelt PlacementBracing TechniqueSquat & Deadlift
Lever Belt Guide
The Complete Technique Breakdown
The One-Line Answer
Set the lever so exactly two fingers fit under the belt with your core relaxed. Wear it centred on your lower back, one to two finger widths above your hip bones for squats and slightly lower — around the waistband of your shorts — for deadlifts. Then take a big breath and push your abs hard into it: a lever belt does not support you by being tight, it supports you when you brace against it. The belt is the wall, your brace is the force.
THE REASON YOUR BELT FEELS USELESS — AND HOW TO FIX IT
A lever belt is one of the highest-impact tools in powerlifting. Used correctly, it unlocks significantly more intra-abdominal pressure and lets you lift heavier with better spinal position. Used incorrectly, it is just expensive leather sitting on your waist.
The mistake almost every new belt user makes is the same: they put the belt on, pull it tight, and then brace exactly how they braced without a belt. The result? The belt feels uncomfortable, it does not seem to help performance, and after a few sessions they conclude that belts are overrated.
The belt is not overrated. The technique is wrong. A lever belt does not create support by being tight around your waist. It creates support when you actively brace your core hard against it. The belt is the wall. Your brace is the force against that wall. Understanding this is everything.
This guide walks through every element of correct lever belt use: how to set up the tightness, where to position it on your body for squats versus deadlifts, exactly how to brace, and the common errors that kill performance. Follow this process and your belt will immediately feel different — and your lifts will too. If you are still choosing your first belt, read our guide on when to start using a lifting belt first.
The Core Principle
A lever belt does not support your spine from the outside. You create the support by bracing your core against the belt. More pressure against the belt = more intra-abdominal pressure = more spinal stability = heavier lifts with better form. The belt is the wall. Your brace is the force.
Quick Reference — Belt Setup
Tightness: 2 fingers fit under belt when relaxed Squat position: 1-2 fingers above hip bones Deadlift position: Slightly lower — over waistband Brace direction: OUT in all directions, not sucked in When to wear it: Working sets at 80%+ only Adjustment tool: Small flathead screwdriver
Step by Step
HOW TO USE A LEVER BELT CORRECTLY — THE FULL PROCESS
01
Set the Lever Tightness
Before your first session, use a small screwdriver to set the lever position. Put the belt on and close the lever. You should fit exactly two fingers under the belt when your core is relaxed. If it is tighter than that, loosen the lever one notch. If your fingers slide in and out easily, tighten one notch. This is your baseline — the lever clicks to this exact tightness every session. You only need to adjust again if your bodyweight changes significantly.
02
Position It Correctly for Squats
For squats, the belt should sit centred on your lower back with the top edge roughly 1-2 finger widths above your hip bones. This positions it over the lower lumbar region where you need the most support during the squat descent. Too high and it will dig into your ribcage. Too low and it drops off your hips during the set. Position it before you approach the bar — do not adjust it mid-set.
03
Position It Lower for Deadlifts
Deadlift positioning is different. Wear it slightly lower than squat position — roughly over the waistband of your shorts. This is because deadlifts require a full hip hinge at the start of the pull. If the belt sits too high, the bottom edge bites into your hip crease when you set your position. Lower belt position allows a clean hip hinge setup without restriction. Some lifters prefer the same position for both lifts — experiment and see what allows the cleanest setup for you.
04
Take the Right Breath
This step is where most lifters get it completely wrong. Take a large breath into your belly — not your chest. You should see and feel your stomach expand outward, not your chest rise. Think about filling your belly with air in all directions like inflating a balloon. If your shoulders rise when you breathe, you are chest breathing and the brace will be weak. Practice belly breathing without the belt until it feels natural before relying on this in your training.
05
Brace Into the Belt — 360 Degrees
After taking your belly breath, push your abdominals outward in all directions simultaneously — front, sides and back — as hard as you can. You are pushing against the belt on all sides. This is the Valsalva maneuver. The belt gives you something rigid to push against, which dramatically increases intra-abdominal pressure compared to bracing without a belt. Do not suck your stomach in. Do not hold your breath passively. Actively push out against the belt the entire time.
06
Hold the Brace for the Full Rep
Maintain your brace from the moment you unrack or set up to the moment the rep is complete and the bar is secured. Do not release the brace at the top of a squat or at lockout of a deadlift until the weight is under control. Many lifters instinctively exhale and release their brace at the top of the movement — this is the most common cause of rounding or losing position right at the point where form should be at its best. Breathe and re-brace between reps.
Common Errors
5 MISTAKES THAT MAKE YOUR BELT FEEL USELESS
01
Bracing Into Your Chest
The most common error. If you breathe into your chest rather than your belly, the brace is shallow and the belt gets no meaningful pressure against it. The belt feels like decoration. Fix: practice breathing into your stomach until your belly visibly expands before attempting to brace.
02
Belt Too Tight Before Bracing
If the belt is so tight it restricts your breathing before you even brace, you have set it too tight. You cannot take a full belly breath, so the brace is shallow, and performance drops. Remember — the two-finger rule applies to your relaxed state. The belt tightens significantly when you brace hard into it.
03
Wearing It on Every Set
Putting on the belt for warm-ups and light sets is a waste of the tool and builds belt dependency. Your core needs to learn to brace raw on lighter loads. Save the belt for your top working sets at 80% and above. This approach builds both raw strength and teaches you to maximise belt performance when it counts.
04
Wrong Position for Deadlifts
Wearing the belt in squat position for deadlifts is extremely common. It blocks the hip hinge at the setup and forces you to round your lower back to reach the bar. Move the belt slightly lower for deadlifts. This one adjustment alone dramatically improves starting position and comfort throughout the pull.
05
Releasing the Brace Too Early
Releasing the breath and brace at the top of a squat or at lockout before the bar is fully controlled is a form breakdown waiting to happen. The transition from the working part of a rep to the lockout is where most injuries occur. Hold the brace until the rep is complete and you are in a stable position.
For squats, position the belt centred on your lower back, roughly 1-2 finger widths above your hip bones. This covers your lower lumbar and gives your core the most to brace against. For deadlifts, wear it slightly lower — roughly over the waistband of your shorts — so the belt does not block your hip hinge at the setup. Experiment with exact positioning to find what gives you the cleanest setup without restriction.
With the lever closed and your core completely relaxed, you should fit two fingers under the belt comfortably. That is the baseline. When you take your belly breath and brace hard, the belt will feel significantly tighter. If you cannot fit two fingers when relaxed, use a screwdriver to loosen the lever one notch. If the belt feels loose even when bracing, tighten one notch. Never set it so tight that breathing in is restricted before you even brace.
Take a large breath into your belly — not your chest. Your stomach should visibly expand outward, not your shoulders rise. Once your belly is full of air, push your abdominals outward in all directions — front, sides and back — as hard as possible. You are actively expanding against the belt on all sides simultaneously. This is the Valsalva maneuver. Hold this pressure for the entire rep. The force you create against the belt is what generates intra-abdominal pressure and spinal stability.
Use a small flathead or Phillips screwdriver to move the lever plate along the belt. Moving it toward the buckle end tightens the belt; moving it away loosens it. Make one notch of adjustment at a time, put the belt on, and test before training. The lever then snaps to this exact tightness every time you use it — this is the key advantage of a lever over a prong belt. You only need to readjust if your bodyweight changes significantly over time.
No. Use your belt on heavier working sets — typically 80% of your max and above. Do warm-up sets and lighter accessory work beltless. Beltless training on lighter loads builds raw core strength and teaches your body to stabilise without support. Saving the belt for heavy sets means it provides maximum performance benefit when you need it most, and you continue building the underlying strength that makes the belt work in the first place. Read more in our guide to when to start using a lifting belt.
A lever belt and a prong belt of equal thickness and leather quality provide identical support when worn correctly. The difference is consistency and convenience. A lever belt locks to the exact same tightness every single time — no hunting for the right prong hole, no variation between sets. It goes on and off in seconds. For training with multiple heavy sets, this consistency is genuinely valuable. Most serious powerlifters prefer lever belts for exactly this reason. See our full NBD lever belt range.
Belt technique is easier to fix with a second, trained pair of eyes than from inside the lift. An NBD strength assessment reviews your actual lifts on video against a coach's checklist — a starting point if you want to know whether your brace is working against the belt the way it should.
BUILT TO BRACE. BUILT FOR INDIA.
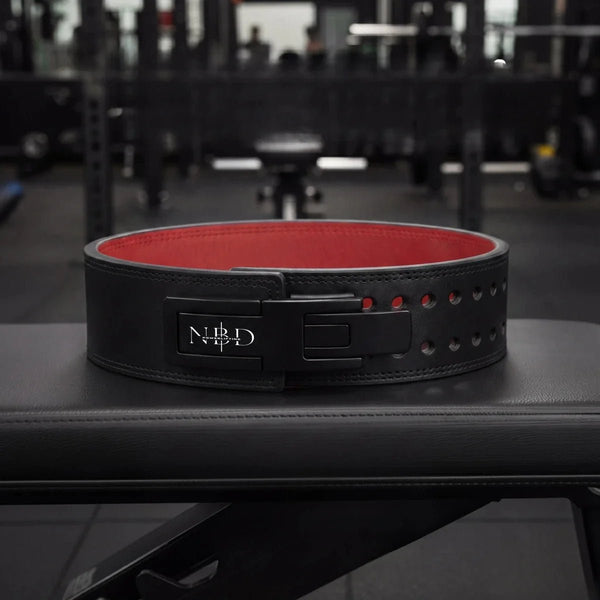
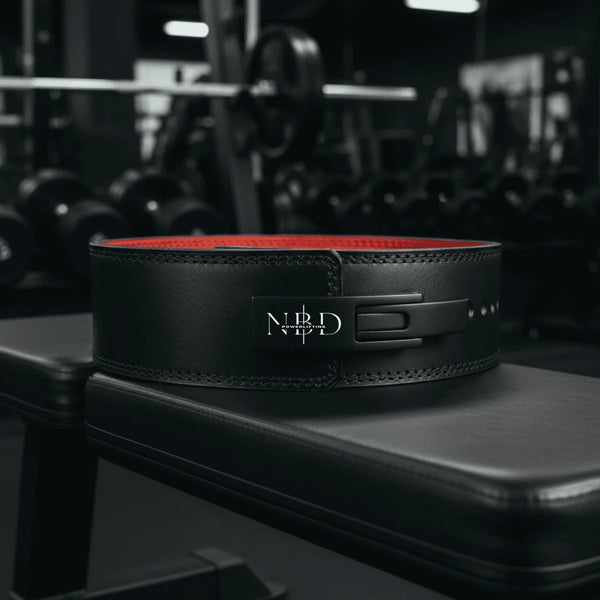
The NBD 13mm Dual Pro Lever Belt. Competition-grade leather, precise lever mechanism, nine sizes for every Indian lifter. Free pan-India shipping on prepaid orders above ₹1,000. Now you know how to use it — get the one worth using.
NBD Powerlifting is an Indian manufacturer of competition-grade powerlifting equipment — lever belts, knee sleeves, wrist wraps and lifting straps — serving 15,500+ lifters across India. Written by Karman Singh, who founded NBD in Sirsa, Haryana in 2014.
The NBD Belts
The gear this guide is written about. Built and shipped from India.
Cash on Delivery is available. COD charges are extra — they
are not part of the price on the product page and are added at checkout, on
top of your order value.
COD charge by order value
Order value
COD charge
Up to ₹3,000
₹250
₹3,001 – ₹5,000
₹400
₹5,001 – ₹7,000
₹600
₹7,001 – ₹10,000
₹800
₹10,001 – ₹15,000
₹1,200
₹15,001 – ₹20,000
₹1,500
₹20,001 – ₹30,000
₹2,000
Above ₹30,000
On WhatsApp
How a COD order is processed
Your order is confirmed on WhatsApp.
Once you place a COD order our team messages you on WhatsApp to confirm the
item, the size and the delivery address.
The COD charge is paid in advance, as the shipping charge.
Only the COD charge shown above is paid upfront. The rest of your order
value is still paid in cash to the courier at your door.
Unpaid COD shipping is cancelled within 24 hours.
If that advance shipping payment does not reach us within 24 hours of the
WhatsApp confirmation, the order is cancelled.